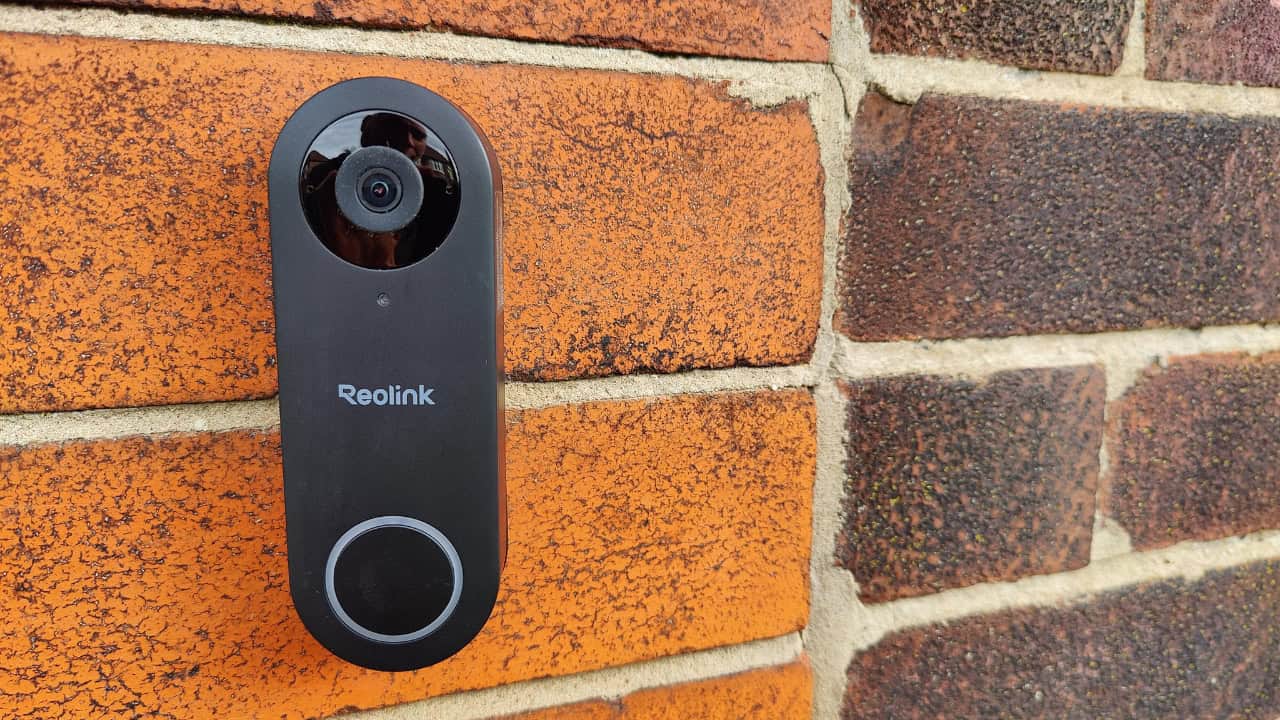
I’ve been testing the Reolink doorbell camera as part of my move into Home Assistant automation. I wanted a doorbell that not only looks smart and records reliably, but also integrates cleanly with my Home Assistant setup. This post walks through everything I found — unboxing, installation, app features, Home Assistant integration, and night performance — based on my hands‑on experience.

What’s in the box
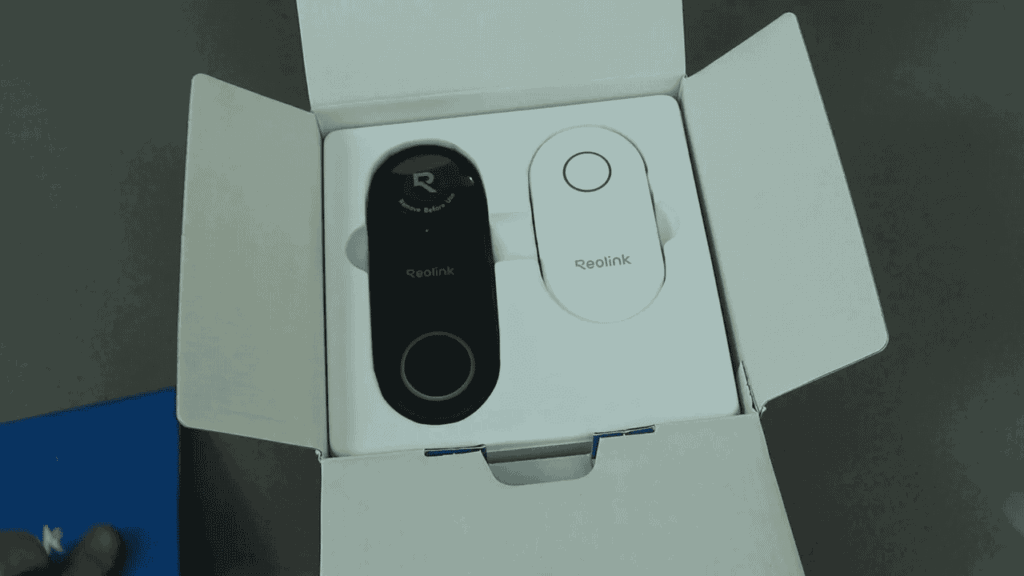
The packaging is straightforward and includes everything you need to get started:
- Instruction manual and drill template
- Main doorbell camera unit
- Plug‑in chime (ringer) that sounds when the bell is pressed
- Ethernet cable
- Long and short power cables, plus the power brick
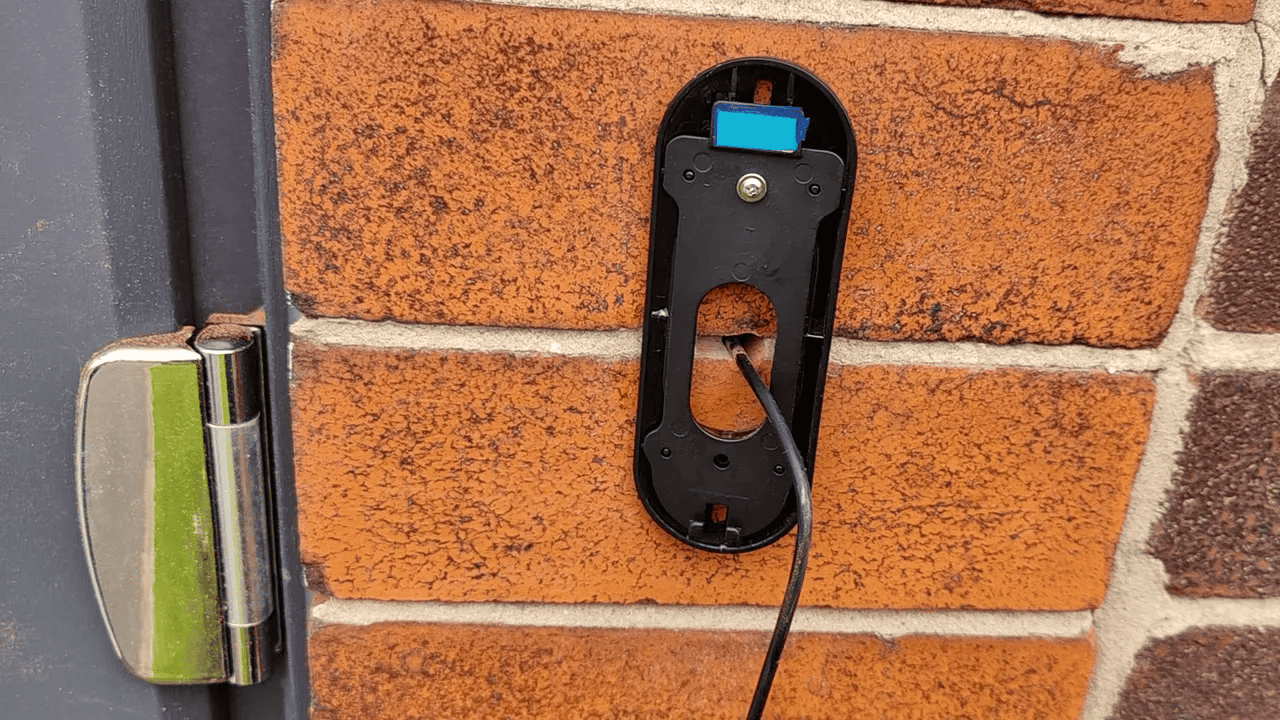
- Screw fixings, a backing plate and an angled plate
The angled plate is handy if you need to mount the doorbell to the side of a door rather than flat on the frame.
Hardware and initial setup
The doorbell itself is compact and thoughtfully designed — there’s a micro SD slot for local recording. Make sure you buy a compatible micro SD card and insert it during setup.
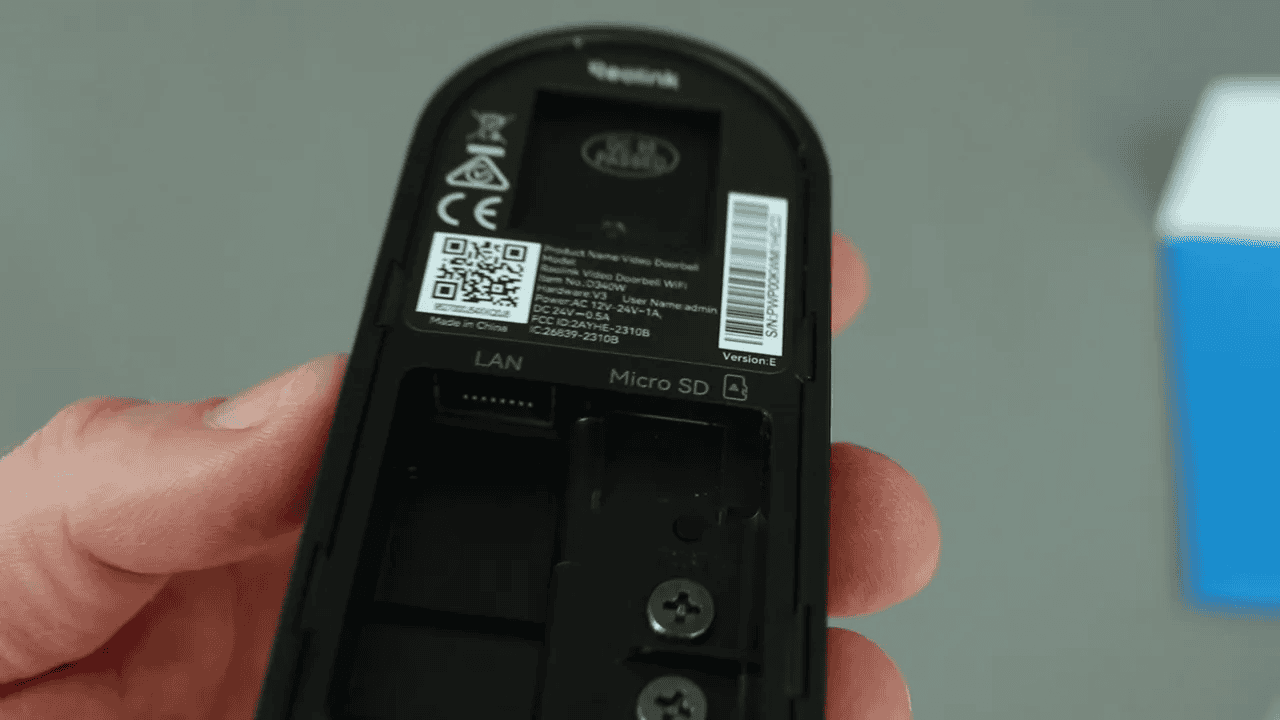
Power is connected via screw terminals on the back of the unit. It’s easier to wire and power the unit before fitting it to the wall, because the app pairing and initial configuration should be completed first.
Quick setup steps
- Download the Reolink app.
- Power the unit and point the camera at the QR code shown in the app to sync.
- Confirm the chime rings when you press the doorbell button.
- Once paired and configured, mount the backing plate and clip the doorbell into place.
App experience: live view, playback and recordings
The Reolink app displays all of your Reolink devices and gives quick access to the live stream from the doorbell. Streaming works both on and off your home network, so you can see who’s at the door from anywhere.
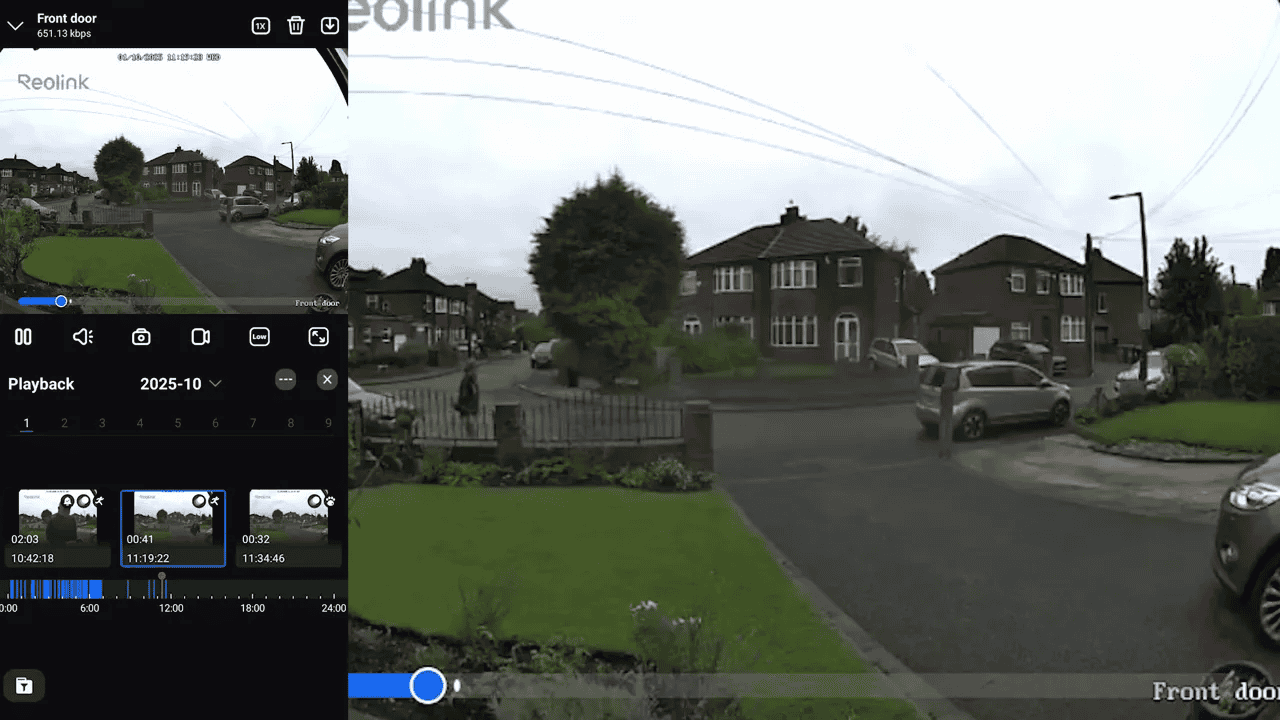
With a micro SD card installed the doorbell will record automatically. I set mine to record on motion — the app shows the motion triggers on a timeline so you can jump to the moments that matter. Playback is tidy and easy to navigate.
Tuning notifications (non detection zones)
One of the most useful settings is the non detection zone. Under Settings → Detection Alarm → Non Detection Zone you can draw areas to ignore for motion alerts. For me, this was crucial; without it passing cars or foot traffic across the street triggered constant alerts. After creating a zone that ignores those areas, alerts only come through when someone actually steps on my driveway.
Settings and advanced options
The app is surprisingly comprehensive. Some useful options include:
- Custom chimes for the plug‑in ringer
- Doorbell light settings (on, off, auto)
- Push notifications and email alerts
- FTP upload and linked devices
There’s a lot to explore if you like to tweak detection sensitivity and recording behaviour.
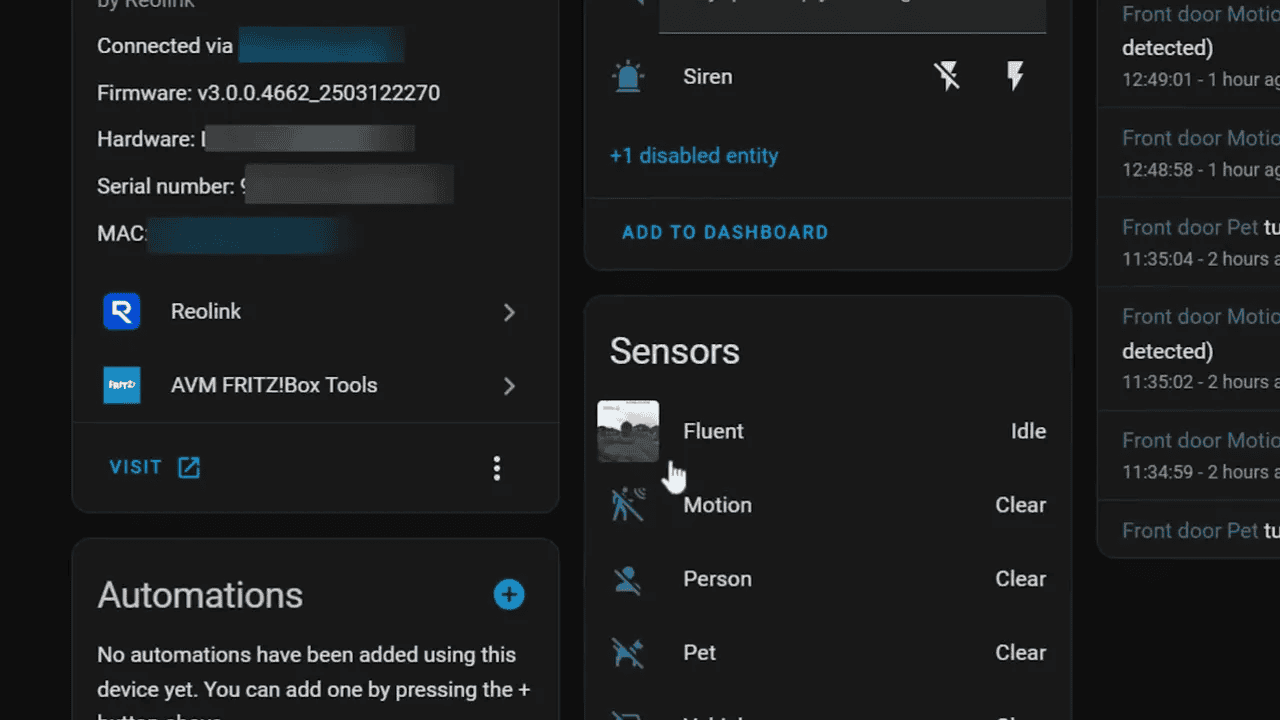
Home Assistant integration
One of the main reasons I chose this Reolink model was for Home Assistant compatibility. Integration was quick and simple — the device appeared in my dashboard and now provides:
- A snapshot preview in the Home Assistant mobile app
- Camera stream access
- Events that can be used as automation triggers (for example, when someone presses the bell)
Using the doorbell as an automation trigger is particularly powerful: when someone rings the bell you can trigger lights, notifications, or other smart home routines. This is where Home Assistant adds a lot of value beyond the stock app.
Browser access and desktop playback
If you prefer a larger view, you can connect to the camera directly in a web browser. The web UI exposes basic and advanced settings and allows you to review playback files from your desktop or laptop. This makes it easier to inspect recordings and change detailed settings without fumbling through a small phone screen.
Image quality and night vision
Daytime image quality is clear and sharp — enough detail to identify visitors and spot small movements around the porch. Night vision performed impressively in my reasonably well lit area; footage looked almost like daytime and captured the movement of animals and other small visitors cleanly.

On the lighter side, the camera is so good that we’ve even captured insects checking it out on camera — a sign the camera is both sensitive and well positioned.
Final thoughts
“It does a great job, nice and clear, good app and good integration options.”
Overall I’m very pleased with the Reolink doorbell camera. It’s easy to install, the mobile app is feature rich, and it integrates smoothly with Home Assistant — which was a decisive factor for me. If you want a doorbell that records locally, offers detailed motion configuration, and plays nicely with smart home automation, this Reolink unit is a solid choice.
Quick pros and cons
- Pros: Easy Home Assistant integration, clear video (day and night), comprehensive app, local recording via micro SD
- Cons: Requires a micro SD purchase separately; some initial drilling/wiring required for best placement